
Traditional Buckwheat Crepes (Breton-Style Savoury Pancakes)
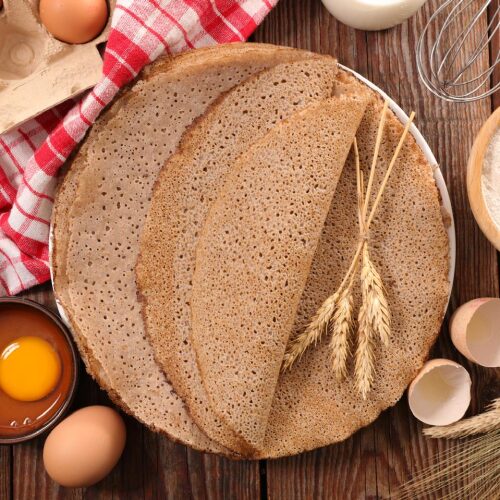
Ingredients
- 330 g Buckwheat flour

 10 g Sea salt (coarse)
 750 ml Water
- 1 Egg (optional)
 Sunflower oil
Instructions
- In a large mixing bowl, combine the buckwheat flour and coarse sea salt. Whisk briefly to distribute the salt evenly.
- Using a whisk, pour in the cold water in two or three additions, whisking continuously between each addition. Start slowly to avoid lumps, then whisk vigorously until you have a smooth, thick batter.
- Crack the egg into the batter and whisk thoroughly until fully incorporated. The egg helps give the galettes a beautiful golden colour when cooked.
- Cover the bowl with cling film and place it in the refrigerator to rest for 2 hours. This resting period allows the flour to fully hydrate and the gluten to relax, resulting in more tender galettes.
- After resting, give the batter a quick stir. It should have the consistency of single cream – thin enough to spread easily but thick enough to coat the back of a spoon. If it seems too thick, add a tablespoon or two of water.
Cook the galettes
- Heat a galetière (Breton crêpe pan) or a large non-stick frying pan over a medium-high heat.
- Dip a folded piece of kitchen paper in a little neutral oil and wipe it lightly over the hot pan to grease it.
- Pour a ladleful of batter into the centre of the pan. Immediately spread it into a thin, even circle by tilting and rotating the pan, or by using a rozell (a wooden T-shaped spreader) if you have one.
- Cook for about 1-2 minutes until the edges begin to lift and the underside is lightly browned and set.
- Using a thin spatula, carefully loosen the galette, flip it over, and cook the other side for about 1 minute.
- Transfer the cooked galette to a plate and repeat with the remaining batter, re-greasing the pan lightly between each galette.
- To add the filling of your choice, place a cooked galette back in the pan over a medium heat. Butter generously on one side, then flip it over and butter the other side. Add your filling, fold the four edges of the galette inward to create a square. If you chose to add an egg or cheese, wait for them to be cooked and/or melted and serve.
Notes
FAQs
Why is the batter made with 100% buckwheat flour, not wheat?
Authentic Breton galettes are traditionally made with buckwheat (sarrasin), a gluten-free grain introduced to Brittany in the Middle Ages. It gives the galettes their distinctive nutty, earthy flavour and makes them naturally gluten-free. Wheat flour would create a completely different, less authentic texture.
Is the resting time really necessary?
Yes. Resting the batter for at least 1-2 hours is crucial. It allows the buckwheat flour to fully hydrate, which results in more tender, pliable galettes that are less likely to tear during cooking. It also improves the flavour. Do not skip it.
Can I make the batter ahead of time?
Absolutely. You can prepare the batter the day before and keep it covered in the refrigerator overnight. The resting time is even longer, which is fine. Give it a good stir the next day, and adjust the consistency with a splash of water if it has thickened too much.
What consistency should the batter be?
It should be the consistency of single cream or heavy cream – thin enough to spread easily across the pan when you tilt it, but thick enough to coat the back of a spoon. If it’s too thick after resting, whisk in a tablespoon or two of cold water.
My galettes are tearing when I flip them. What went wrong?
This can happen for a few reasons: the batter may be too thin, the pan may not be hot enough, or you flipped them too early. Ensure the first side is fully cooked and set (the edges will lift) before attempting to flip. Using a thin, flexible spatula also helps.
Do I need a special galetière or rozell to make these?
No. A large, good-quality non-stick frying pan (about 24-28cm) works perfectly. A spatula is all you need for flipping. The traditional equipment is lovely but not essential for delicious homemade galettes.
How do I get the galettes perfectly round and thin?
Practice, and the right amount of batter. Pour a ladleful into the centre of the hot, lightly greased pan. Immediately lift the pan and tilt and rotate it in a circular motion to let the batter run and spread into a thin, even circle. Work quickly before the batter sets.
What are the classic fillings for a galette?
The most famous is the Galette Complète: ham, grated Emmental or Gruyère cheese, and a perfectly cooked egg broken into the centre just before folding. Other classic options include smoked salmon with crème fraîche, mushrooms with cream, or raclette with raclette cheese, potatoes, onions, creme fraiche and lardons.
How do I add an egg filling without it running everywhere?
Cook the first side of the galette, then flip it. Crack the egg into the centre of the galette while the second side cooks. Let it set slightly, then fold the four edges over the egg to create a square parcel. Cook until the egg white is set but the yolk remains runny.
Can I freeze leftover cooked galettes?
Yes, they freeze very well. Stack the cooled galettes with a piece of baking paper between each one to prevent sticking. Wrap the stack tightly in cling film and foil. Freeze for up to 3 months. Thaw in the fridge and reheat briefly in a hot, dry pan.

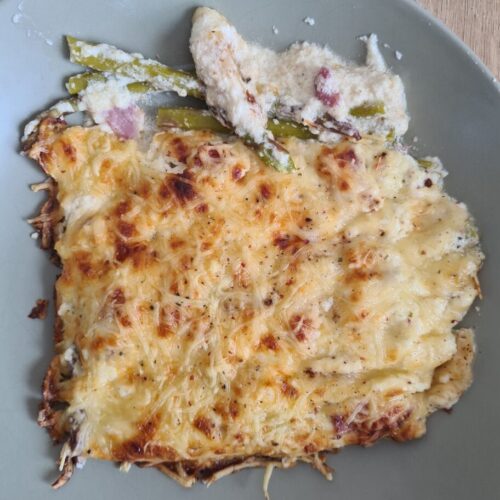

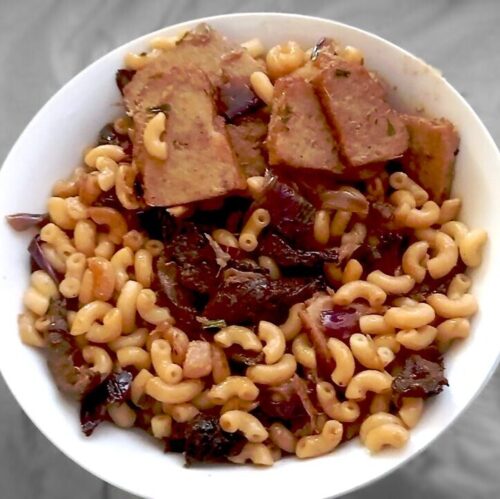
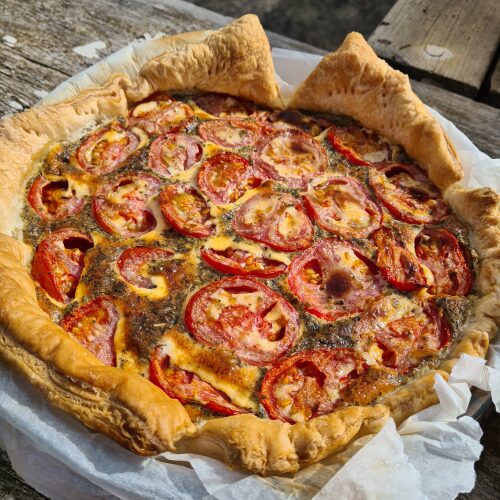
Throw in your flavor